

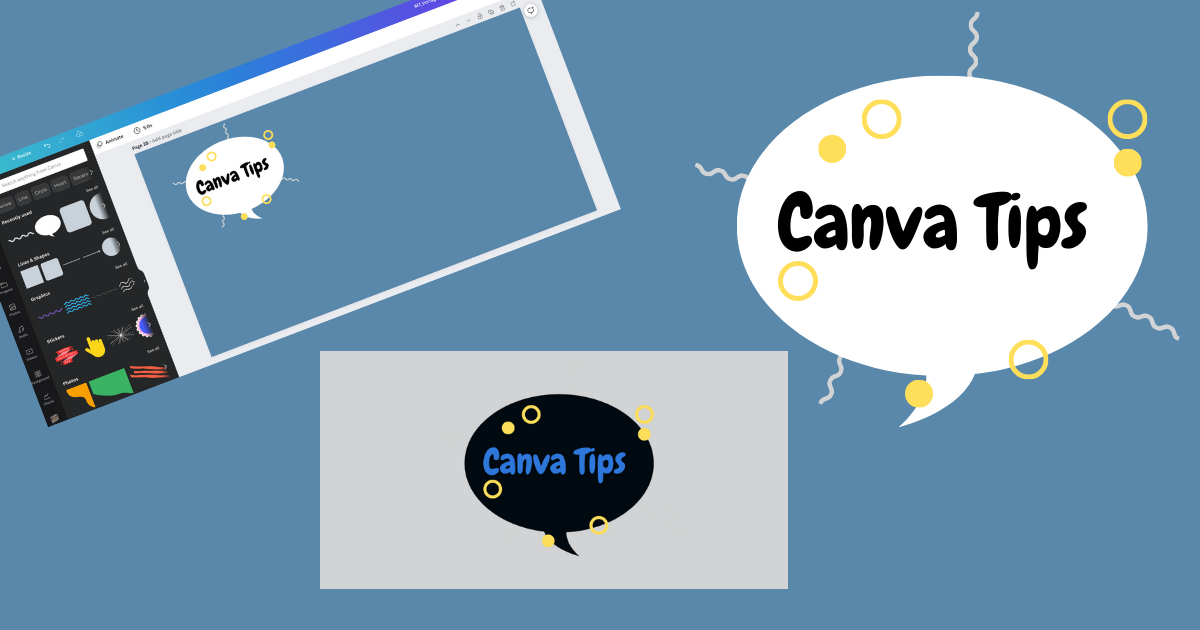
Canva is a great tool for marketers and anyone who wants to create graphics quickly and easily. Even in the free version, it offers numerous possibilities for informative and creatively appealing content. In this article, we’ll show you which Canva tips and tricks will also help you create interesting and beautiful graphics.
There are many graphic tools. Both free software, such as Gimp, and enterprise tools like Photoshop allow you to create your own graphics. Some tools are simpler, others more complex. Depending on the solution and the functions offered. Canva is one of the most popular graphic tools – in the private sector and in companies. Even the basic version contains numerous options for creating appealing graphics.
According to Canva’s own statistics, 75 million people currently use Canva – per month. The tool is widely used in more than 190 countries. In 2021, 3.5 billion designs were created using the Canva tool alone. Impressive numbers.
You didn’t know Canva yet or only by name? Then check out our knowledge article on the graphics tool! It gives you an overview of Canva and the possibilities offered by the application.
What makes Canva so popular
The reason why Canva is often used to create your own graphics is not only because the basic version is available for free. Canva can be considered an intuitive graphics tool. The navigation and functions are comparatively self-explanatory and can therefore be easily used even by users who do not come from a graphic design background or who edit images and graphics on a daily basis.
However, even though Canva is already very simple in itself: Nothing makes a tool even easier than one or two tricks. That’s why we’ve put together some Canva tips and tricks that will surely help you with your next project.
10 Canva tips and tricks for your toolbox
Of course, there are numerous Canva tips and hacks that can help you create your graphics even easier and faster. We have therefore limited ourselves to ten of the most promising Canva tips and tricks and provide you with three special tricks on top.
Tip 1: Grid view for quick change of document order
With the grid view you have the possibility to place several created graphics the way you want to export them in the end. This is especially helpful when you create documents with multiple pages in Canva. In the grid view, the individual pages are then displayed as thumbnails. If you want to move them, just drag and drop them and place them exactly where you want them to end up.

How do you get to the grid view? Just click on the icon for the grid view at the bottom right, as you can see in our screenshot.

Tip 2: Move elements without guides
Maybe you already know this problem from PowerPoint: You want to move elements, the guides are shown and your elements automatically move to the guides. Working with pixel accuracy? No way! In Canva you can “outsmart” the displayed guides. Just press the Ctrl key (Windows) or cmd key (Mac) while moving and hold it until you have placed the element where you want it.
Tip 3: How to remove the background
You can also easily create images without a background in Canva. You don’t necessarily need Photoshop to do this. If you want to remove the background from an image in Canva, you simply use the “Remove background” function. You can find this feature in the effects section.
However, there are two drawbacks to this feature: it is only available in the Pro version of Canva and your image should have an even background. Otherwise, background elements may remain. But you can also use the Pro version of Canva as a trial for 30 days free of charge.
Tip 4: Use text effects

Texts do not have to be written in black. Word and PowerPoint already give you the option to customize the text design. In Canva you also have various effects to highlight your texts in graphics. This includes drop shadows, spacing between letters and many more. Text effects can also be found under the function button “Effects”, as our screenshot shows.
Tip 5: Copying text properties – a time saver

You’ve already put a lot of effort into your text elements and now you want to add more text elements – perhaps on new pages – that have exactly the same properties (the same design). To do this, use the painter’s scroll icon in the top right corner of the toolbar. First click on the text element whose properties you want to take over and then click on the painter roll. Then click on the text element that you want to apply the same properties to.
Tip 6: Zoom faster for easier work
Zooming is a central function. And the faster you can zoom, the easier and faster you can sometimes work. For faster zooming, just press either the ctrl key (Windows) or cmd key (Mac) and the plus (zoom in) or minus (zoom out) key on your keyboard at the same time.
Tip 7: How to resize the graphic afterwards

The graphic is ready. And then you realize that even if you selected a supposedly suitable format at the beginning, you now need a different format. Or you need different graphic sizes for different channels – such as different social media platforms. Don’t panic: You don’t have to start from scratch! If you also need your graphic in other sizes, you can simply change them using the “Change size” function in the top left of the menu bar.
Note: Unfortunately, this function is also only available in the Pro version.
Tip 8: The 1×1 of shortcuts
Keyboard shortcuts can be a real lifesaver when working on the PC. And not just for copy-and-paste. In Canva some shortcuts can help you get your work done faster as well. Here are seven shortcuts for Canva that you may have used in other programs:
- Key “T”: This lets you insert text elements very quickly.
- Key “C”: This key inserts a circle.
- Key “L”: With “L” you create a line.
- Key “R”: Use the “R” key to insert a rectangle.
- ctrl+c (Windows), cmd+c (Mac): With this key you copy elements.
- ctrl+v (Windows), cmd+v (Mac): This is how you paste elements in the copy where you want them.
- ctrl+z (Windows), cmd+z (Mac): With this key combination you can undo your last steps piece by piece.
- ctrl+d (Windows), cmd+d (Mac): The key combination duplicates content.
- ctrl+u (Windows), cmd+u (Mac): This is how you underline text content.
- ctrl+b (Windows), cmd+b (Mac): This combination will bold text.
- ctrl+g (Windows), cmd+g (Mac): Allows you to group items. The grouping can also be ungrouped with the key combination ctrl/cmd+shift+g.
- Option/Alt Key: With this key you can display distances.
Tip 9: Apply styles to several pages
If you want to do it quickly and you have many pages in the same style, use the “Style” function. Simply select your preferred style. All pages that you have already created and all pages that are created afterwards in the project will then automatically adopt the selected style.
Tip 10: Turn designs into videos (animations)

Moving images are even more effective on social media than pure graphics. So think about it: Can you also animate your creation and offer it as a video? If so, here is our tip 10.
Animate individual, suitable elements of your design using the animation options that Canva offers you under the function button “Animation”. Choose your preferred animation and apply it, if necessary, to all the pages you’ve created in the current document. After that, you can download the design as a video and use it for your purposes.
Even more tips for even more creativity
Besides these ten Canva tips, we have four more tricks that might be interesting for you. How about a QR code, for example? And what about exact color codes to use your CD colors, for example?
- QR codes: Today, a QR code is no longer magic. There are numerous online tools. But if you already use Canva, you don’t need an additional tool! In Canva, you can simply select the “QR Code” function, enter your target URL and voilà – you have your QR code.
- Create consistent spacing: If the spacing between the same elements is not consistent, a graphic will quickly look choppy and unappealing. By using the “Position” function you can align elements exactly and get a nice overall picture.
- Color codes for accurate colors: Whether it’s your CD colors or colors from an image you want to use, color codes are especially valuable in these cases. To get a color code from a photo, you can use tools like Image Color Picker. Once you have the color code, you select the filter next to the search bar in Canva and the colorful color palette at the very front. Then you enter the color code and can use the desired color.
Conclusion
With Canva you can create many appealing graphics, images, documents and more. With the right hacks, your work becomes even easier and more efficient. Our Canva tips will help you to use the graphics tool even better and to create content that inspires your target group.


